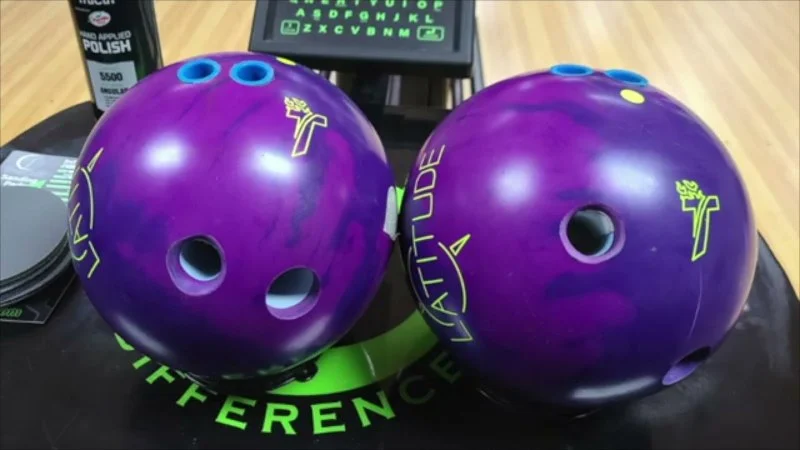
- 1- Understanding How Ball Layout Influences Hook Motion - #understanding-ball-layout
- 2- Key Layout Elements That Affect Hook Shape - #key-layout-elements
- 3- How Different Layouts Create Different Hook Shapes - #layouts-create-hook-shapes
- 4- Real-Life Example: How One Bowler Transformed His Shot - #real-life-example
1. Understanding How Ball Layout Influences Hook Motion
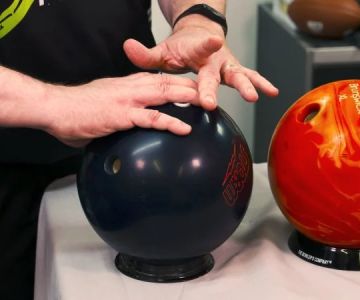
For many bowlers in the United States—whether league players, weekend competitors, or aspiring pros—there’s often one big question: why does ball layout change hook shape so dramatically? It might seem like a subtle change on paper, but the difference on the lanes is often night-and-day. The way a bowling ball is drilled affects how the core sits inside the shell, how it stores energy, and ultimately how it moves from skid, to hook, to roll.
Think of the layout as the blueprint for how your ball behaves. Even two identical balls with different layouts can feel like two completely different tools. One may read the lane early and roll smooth, while another might conserve energy and snap aggressively on the backend. This is exactly why pro shops—like those you can find through Southwestern Lanes—spend so much time understanding your speed, rev rate, tilt, and bowling style before recommending a layout.

RPM Raceway | Race Play More
FarmingdaleSuffolk CountyNew York
40 Daniel St, Farmingdale, NY 11735, USA
2. Key Layout Elements That Affect Hook Shape
Ball layout involves more than just drilling holes. Several highly technical components interact to create your final ball motion. While the average bowler sometimes overlooks these factors, understanding them can elevate your game and explain why certain layouts dramatically alter hook shape.
1. Pin-to-PAP Distance
The pin-to-PAP (Positive Axis Point) distance controls flare potential. Shorter distances make the ball flare less, creating smoother, earlier motion. Longer distances increase flare, unleashing a more angular reaction. This single factor alone can make a familiar ball feel totally new.
2. Mass Bias Placement
For asymmetrical balls, the placement of the mass bias determines how quickly the ball transitions from skid to hook. Moving the mass bias closer to your PAP increases the responsiveness and sharpness of the backend motion. Placement more towards the track area smooths the transition and reduces the “jumpiness” of the hook.
3. Pin Buffer or Vertical Pin Placement
This is one element many bowlers overlook. The vertical pin placement controls how forward or sideways your ball transitions. A low pin tends to create a rounder hook shape with heavy roll, while a higher pin height allows more length and a snappier backend.
4. Core Orientation
The way the core is positioned dramatically impacts how energy is stored and released. Flipping the core orientation by only a few degrees changes how the ball migrates through its axis rotations—and ultimately how it hooks downlane.

Pro Shop Services Professional Bowling Instruction & Supplies
Deer ParkSuffolk CountyNew York
849 Long Island Ave, Deer Park, NY 11729, USA
3. How Different Layouts Create Different Hook Shapes
If you’ve ever wondered why your friend’s ball seems to arc smoothly while yours snaps unpredictably, layout is likely the reason. Even with the same surface prep and ball model, different layouts produce dramatically different shapes.
1. Early-Roll / Smooth Layout
This layout places the pin closer to the PAP, sometimes in a lower position. It helps the ball start transitioning earlier on the lane, great for heavy oil or for bowlers with high ball speed. The shape is smooth, controlled, and predictable.
2. Angular / Skid-Snap Layout
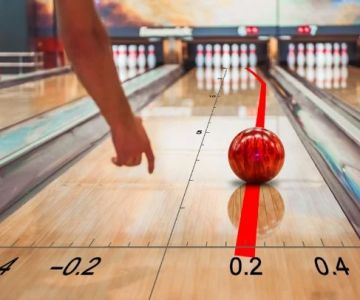
Pin distances around 4.5–5 inches with mass bias closer to the PAP produce a sharp backend motion. This is ideal for bowlers who want the ball to skid long through the front and hook violently on the back. It creates the dramatic “hockey-stick” motion that high-rev bowlers love.
3. Benchmark Layout
A balanced layout—commonly pin above the fingers and mass bias at a moderate angle—gives a reliable motion that works on most house shots. This shape is neither overly sharp nor overly early, giving bowlers a great “read” on the lane conditions.
4. Control Layout
With the pin positioned farther from the PAP and mass bias set at a stable angle, the ball rolls forward sooner, reducing backend motion. This layout helps bowlers control wet/dry conditions and prevent overreaction.
Each layout manipulates how the ball stores and releases energy, and understanding these shapes helps bowlers choose the right tool—not with guesswork, but with strategy.
4. Real-Life Example: How One Bowler Transformed His Shot
A bowler named Matt—someone I met during a league night—struggled with an inconsistent hook. Some nights his ball reacted early and died before reaching the pocket; on other nights, it barely hooked at all. He blamed lane conditions, but after a consultation at a pro shop connected to Southwestern Lanes, he discovered the issue wasn’t the lane—it was his layout.
His ball had a layout that didn’t match his slower ball speed and moderate rev rate. It was drilled for angular hook, but what he really needed was an earlier, smoother layout to help control energy. After redrilling with a pin-to-PAP distance better suited to his release, the difference was immediate.
The next week, Matt shot his first 250 game in months. His ball motion finally matched his natural style. Instead of fighting the lane, he worked with it—and it started with understanding how ball layout shapes hook.
Stories like Matt’s are common. A layout adjustment can unlock hidden consistency and improve scores without buying a brand new ball. That’s why working with knowledgeable technicians and using resources from places like Southwestern Lanes is invaluable.


 NJ Grunt's Sports Bar3.0 (6 reviews)
 Precision Fit Pro Shop4.0 (15 reviews)
 Pro Shop Services Professional Bowling Instruction & Supplies5.0 (2 reviews)
 Strike Zone Bowling Pro Shop4.0 (6 reviews)
 Bowler X Pro Shop4.0 (45 reviews)
 Bill Colmer's Pro Shop4.0 (19 reviews)
 Best Bowling Alley Tips for Busy Nights
 The Most Common Bowling Injuries and How to Prevent Them
 How to Throw a Bowling Ball More Smoothly
 Why Ball Span Is Important for Comfort: Understanding the Key Factors
 How to Bowl a Perfect Game: Expert Tips and Key Factors That Matter Most
 Why Ball Hook Timing Affects Strikes and How to Improve It